in preparation of a fence.
jenn pan
the fence separating our home and our new neighbors is chainlink. this is leftover from the previous homeowners, and used to feature barbed wire at the top. luckily, that part was taken down several months ago.
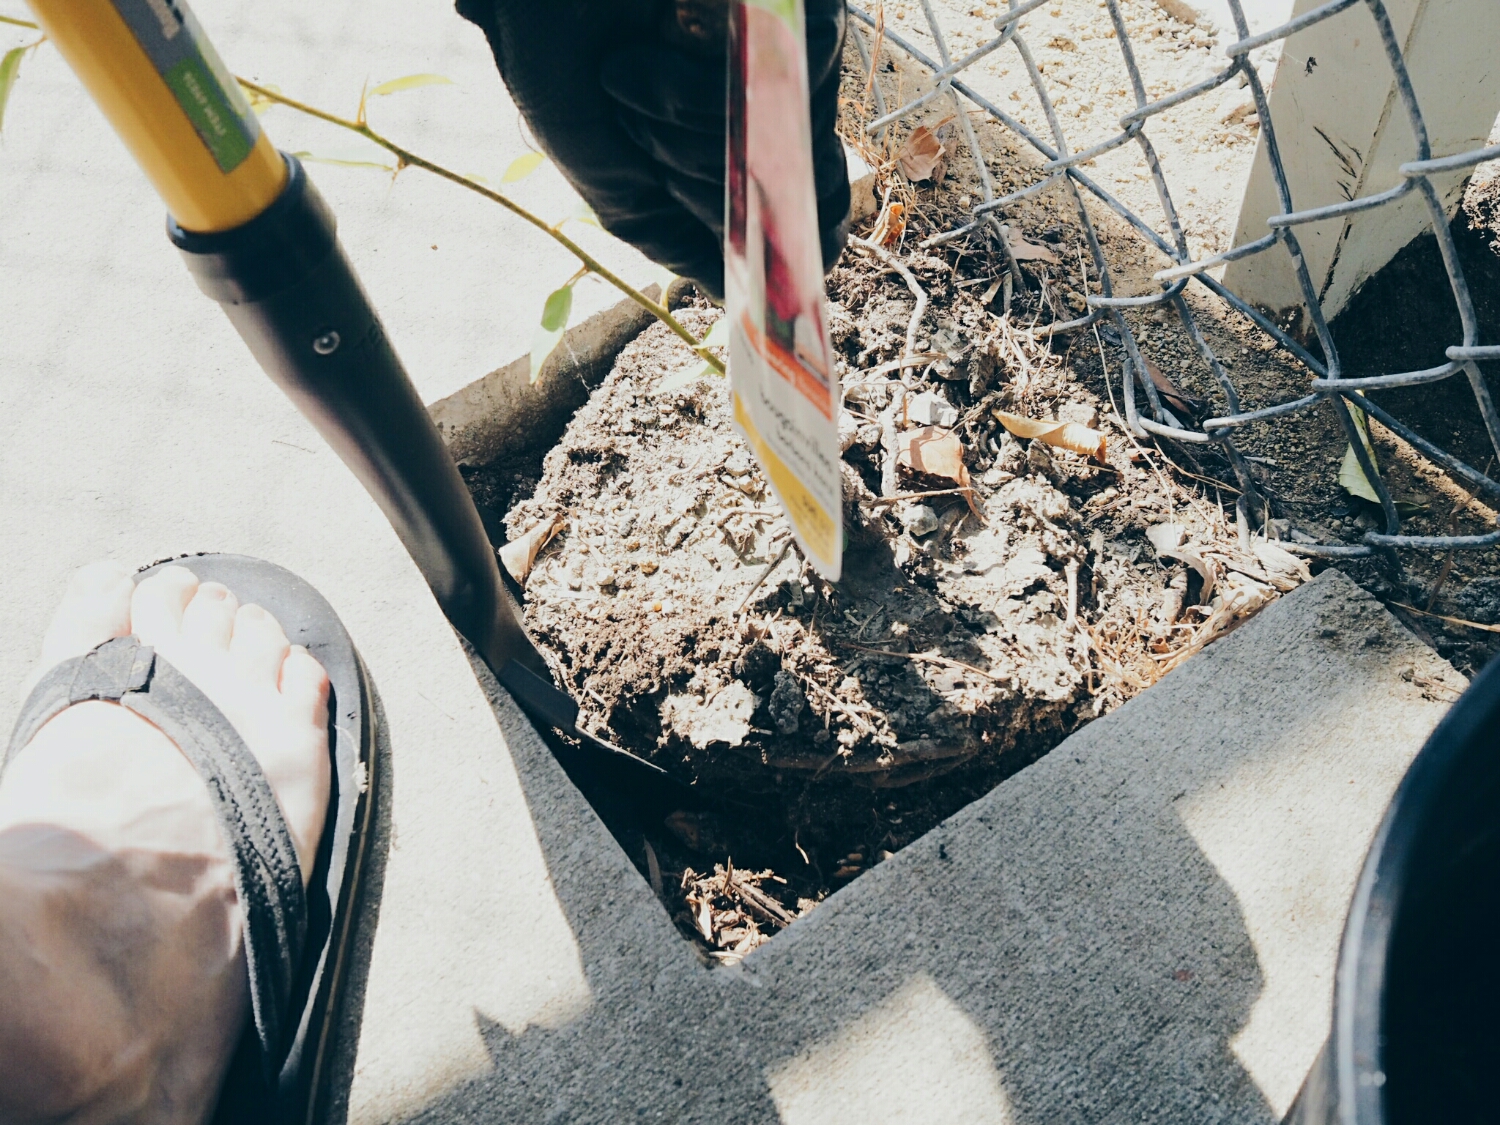
we got an estimate done to replace the chainlink with a redwood fence, and are moving forward with it. the fence posts will be set right into the concrete. however, there are three bougainvillea plants right where the fence would be going, so we we needed to dig them up.
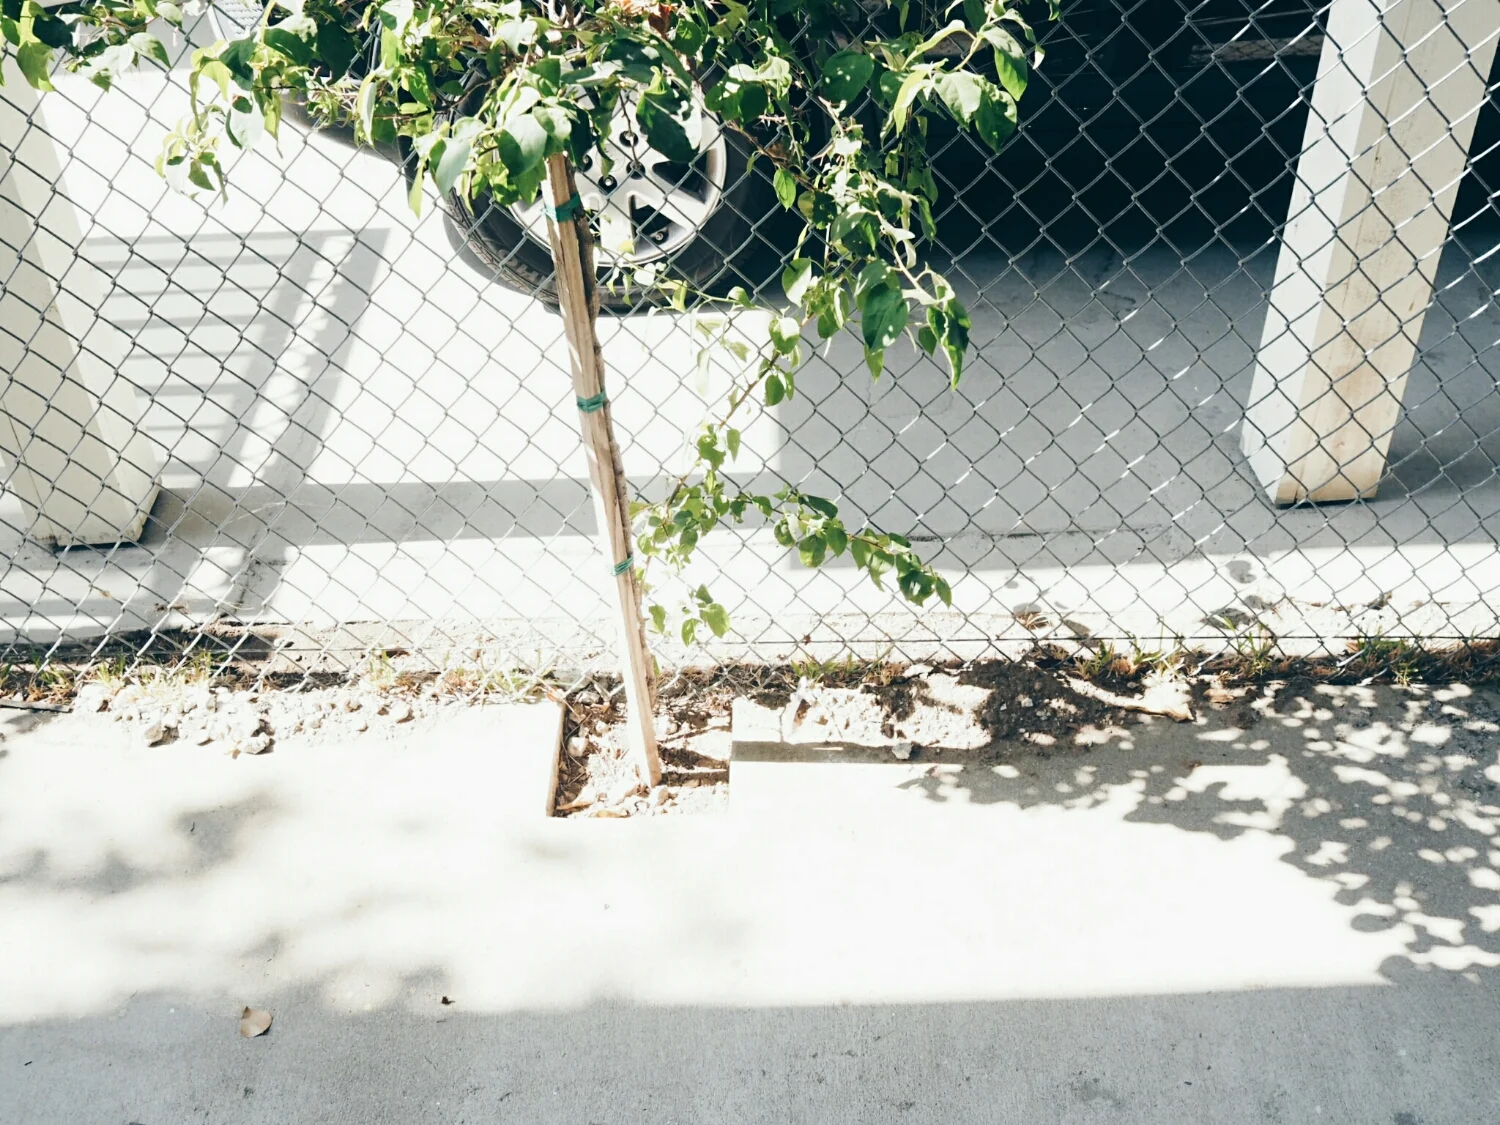
limited space for digging due to the concrete.

the smallest and easiest to handle of the three bougainvilleas.
we are happy to move these guys too, because they haven't been thriving in their little concrete box. it wasn't all that easy to get them up either. the biggest of the three (not pictured) and roots that went down pretty far, and trying to dig them up without damaging the roots was really hard. we probably weren't successful either, but we've got them in pots and our fingers crossed they'll survive.
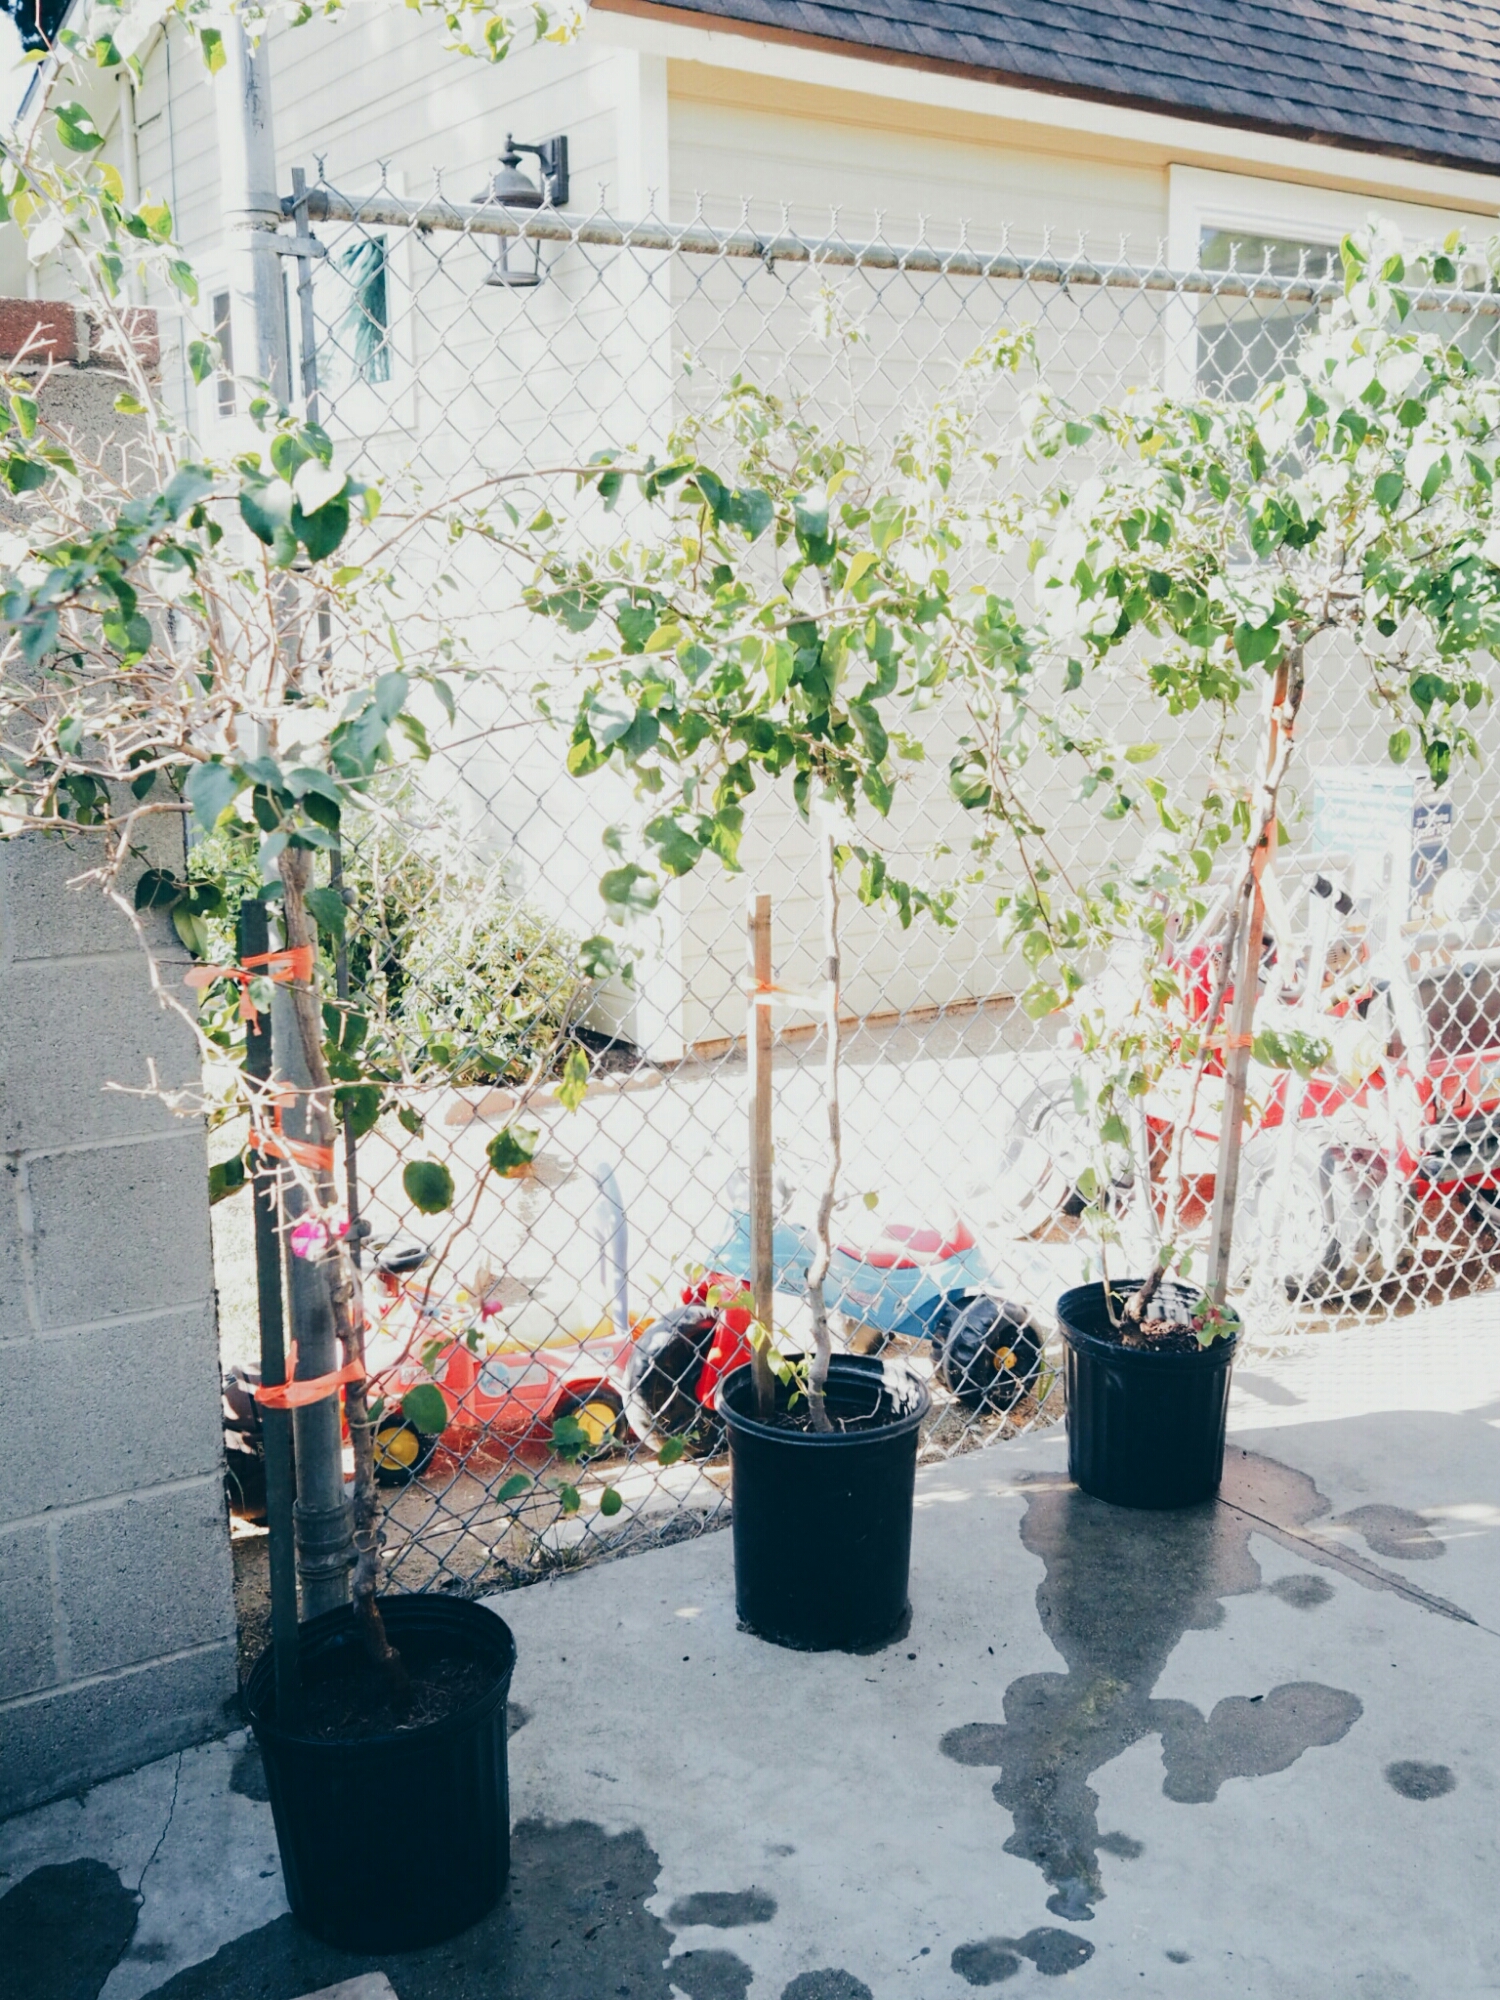
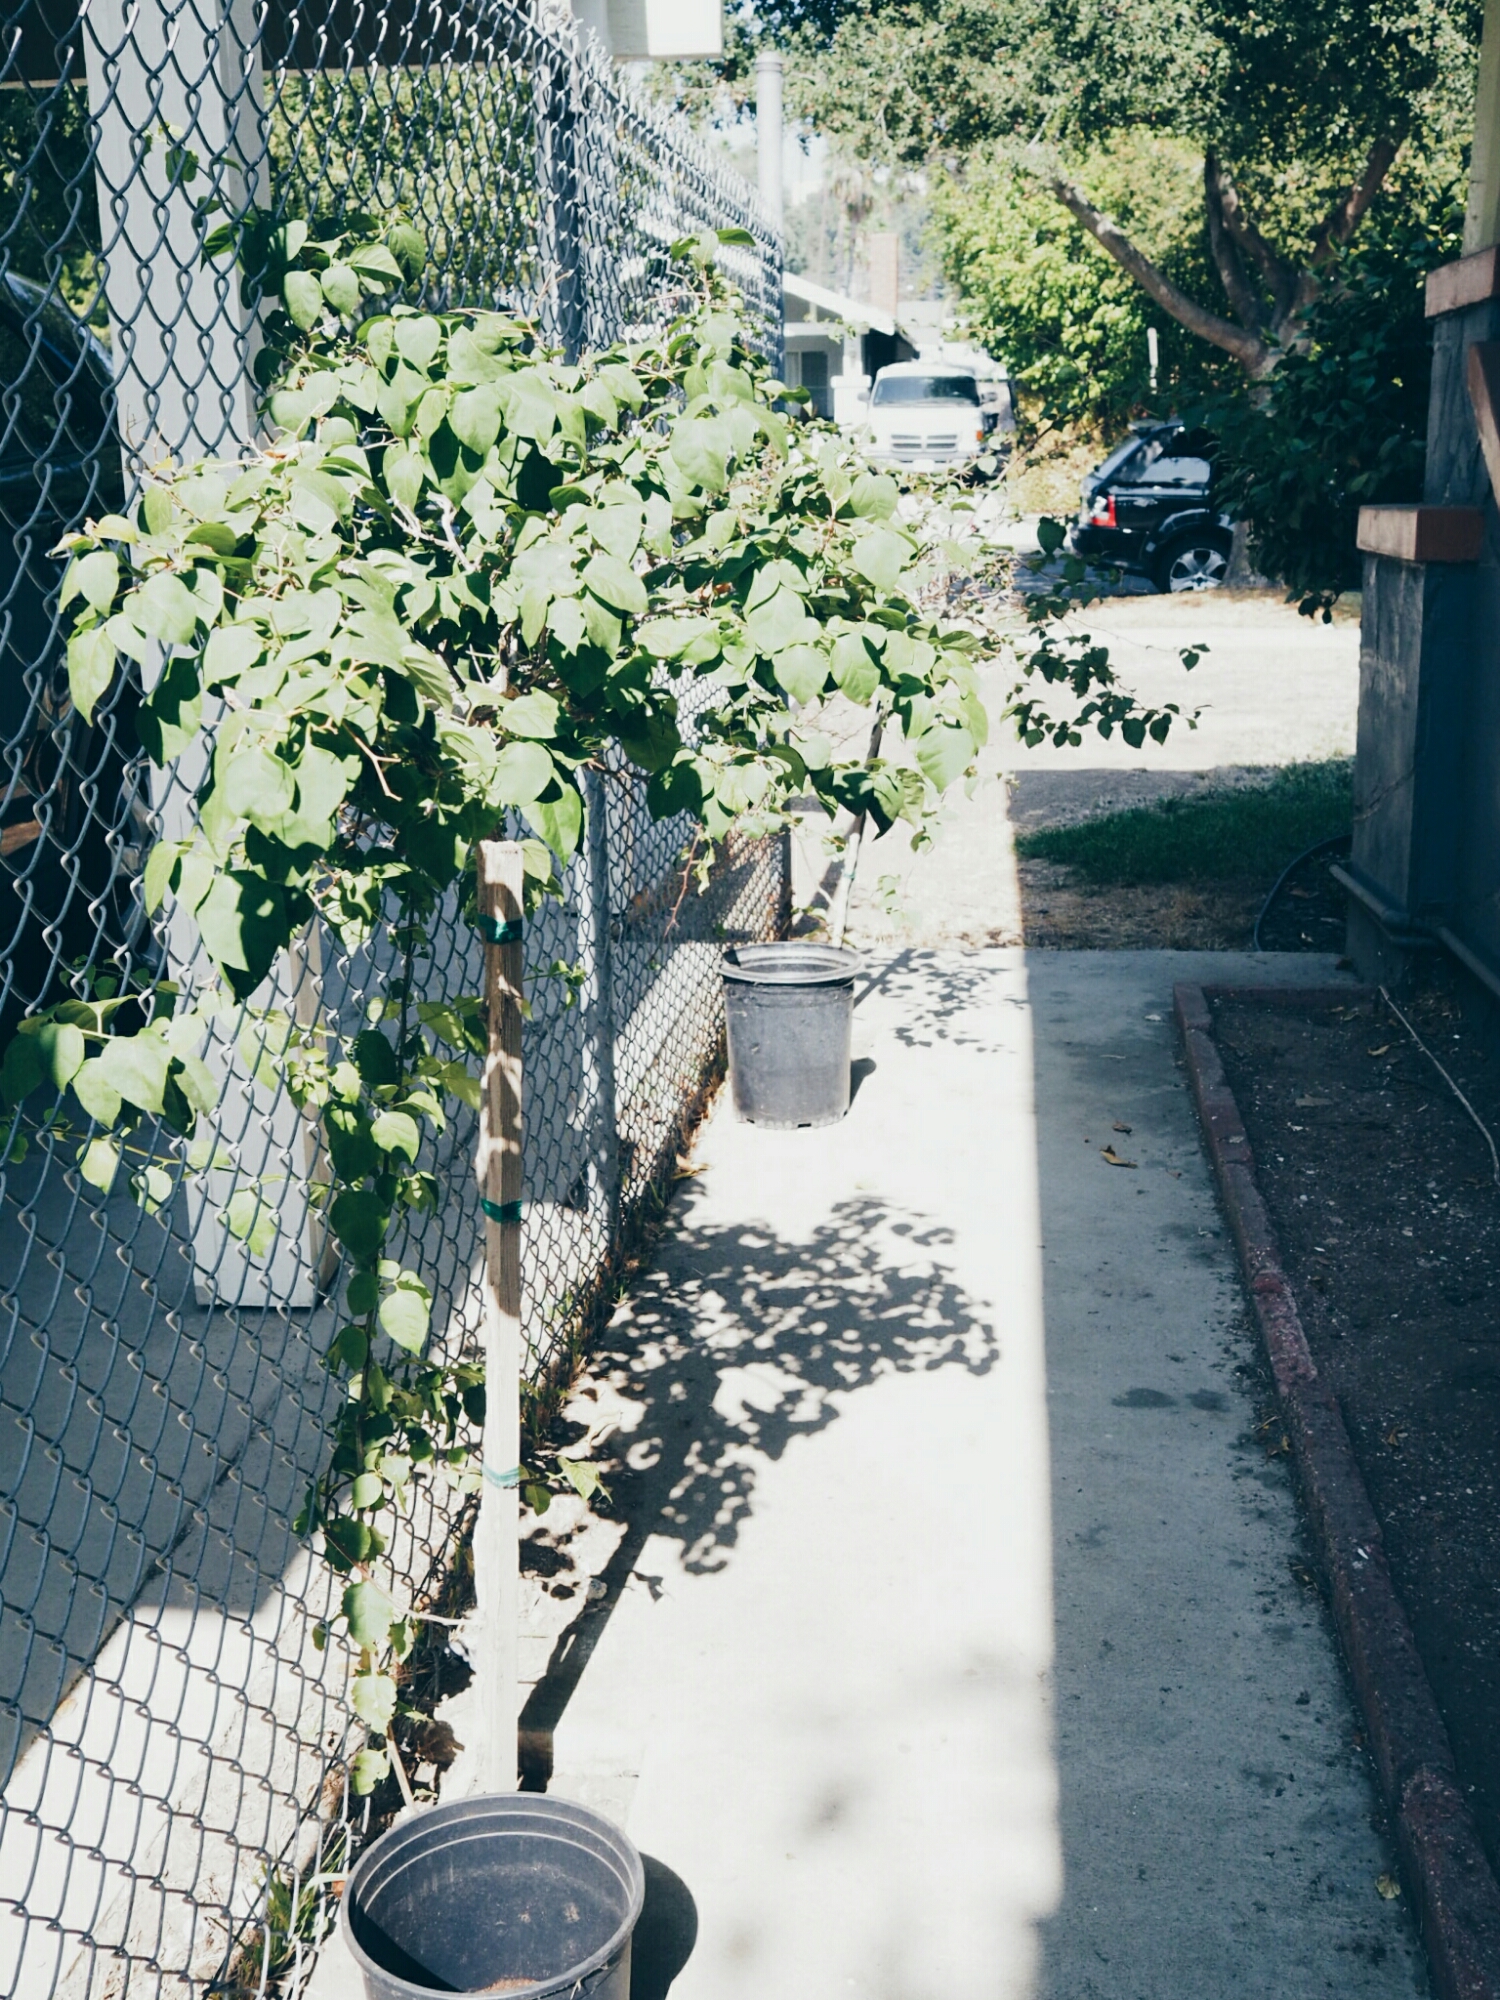
the bougainvillea repotted. as you can see, there is little privacy with a chainlink fence.
all clear! hopefully we'll get the contractor scheduled soon and the chain link will be gone and replaced with a pretty redwood fence. we've got big(ish) plans for this space! more of that to come in time..
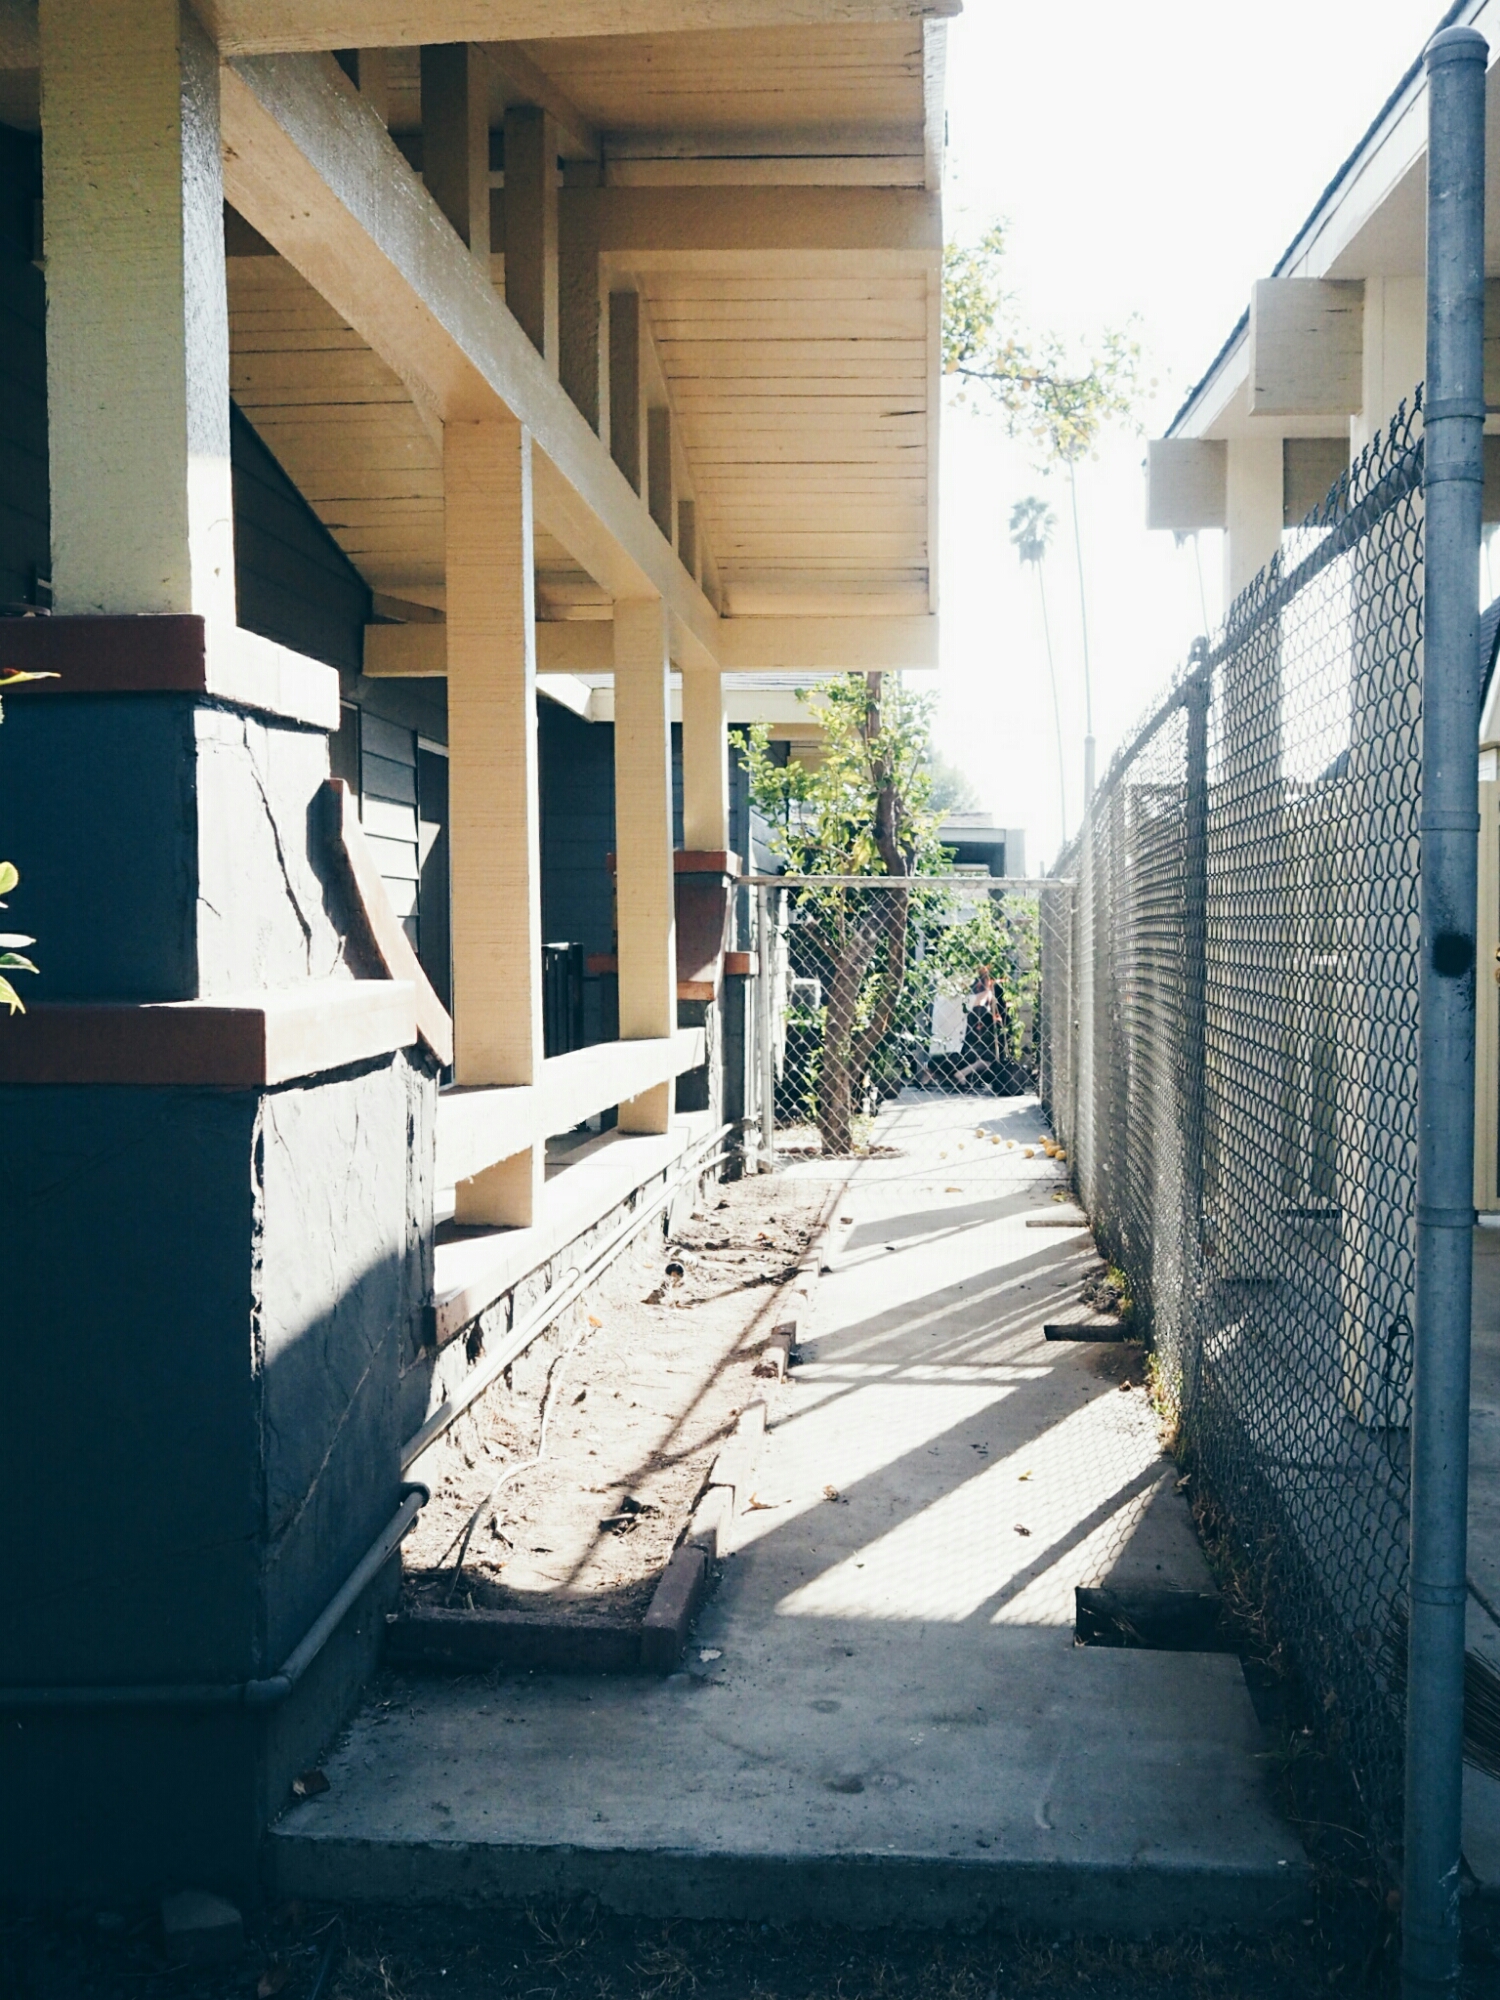
view from the street of this unutilized space between the two houses.